
Here is the original pin I pinned:

The tutorial comes from: A Girl In Paradise
This pin was a very fun and quick activity for me.
Here is how this project turned out:
First of all, I got all my supplies together:
- Computer paper
- 1 sheet Tissue Paper
- Tape
- Sharpie or marker
- Candles
- Wax Paper
- Hair Dryer (she used heat gun in tutorial but I do not have one so Hair dryer worked just as good)
Next, I found an image on Google that I liked. I chose a heart since it is almost time for Valentines Decor.
To print, you will first need to tape tissue paper to a piece of regular computer paper. I used regular Scotch wrapping tape.

After you print your image on the tissue paper it should look something like I have pictured.

I then cut out the tissue paper image while it was still taped to regular computer paper. For some reason it seemed easier this way than just cutting the tissue paper alone.

Next, I got the image centered on candle and covered with a similar size wax paper. I taped wax paper the whole way around candle because it seemed easier than trying to hold wax paper in place.

After that, I put hair dryer against candle/wax paper and turned on. I left on each area of candle/image for about 20 seconds.


Here is the second way I tried using this technique. I used tissue paper, sharpie marker, and stencil. Please excuse my Sharpie being pink and black. It seems that my daughter got a hold of it against my will and used it. I really do not like it when she touches my Sharpies. That is another story for another day.


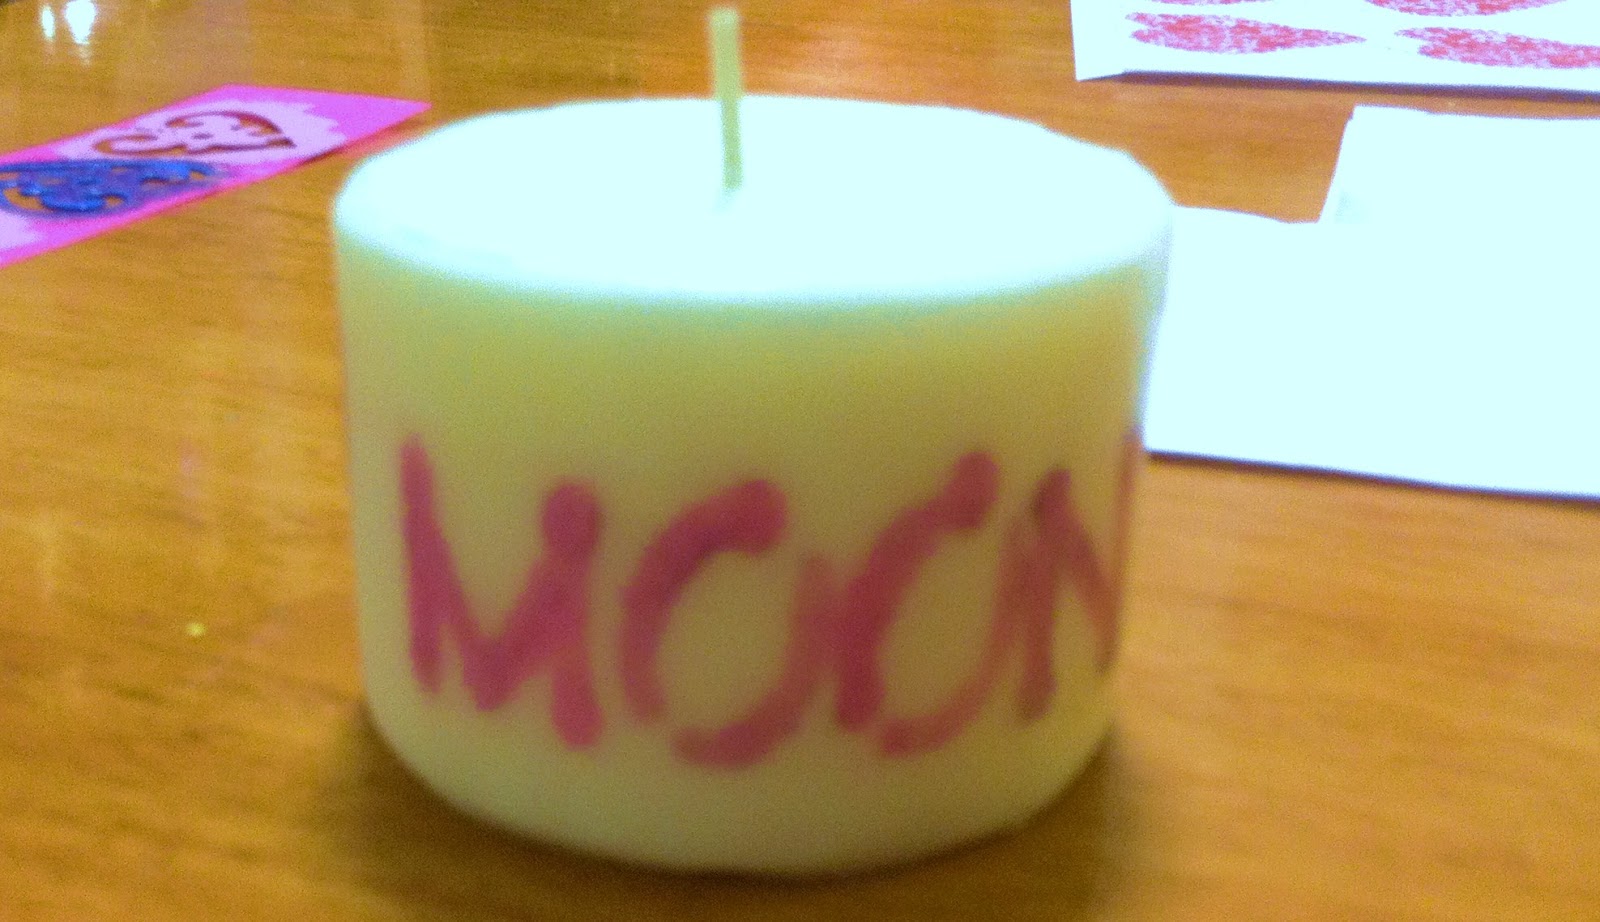


Here is the third and final technique I tried. It is Google Image printed on tissue paper + Sharpie Marker. It looks kinda cute if you ask me. C is for Chris, my husband, and the M is for Mary.

Didn't they turn out neat?
I will definitely be doing this project over and over again.


My review:

Pin It Now!
So cute Mary! I am glad you did it and posted about it, I will have to try it myself!
ReplyDelete